


You will discover that the Snug Piercing requires a careful analysis of your ear shape. A qualified professional can help you avoid intense pain or complications such as slow healing or infection. Take the time to check that this choice really suits your anatomy.
Key Points
Before getting a Snug Piercing, consult a qualified piercer to check the shape and thickness of your cartilage.
The Snug Piercing is more painful than other cartilage piercings. Prepare for intense but brief pain during the piercing.
Daily care with a saline solution is essential to prevent infections and promote rapid healing.
Snug Piercing: Definition and Location
Where is the Snug Piercing Located?
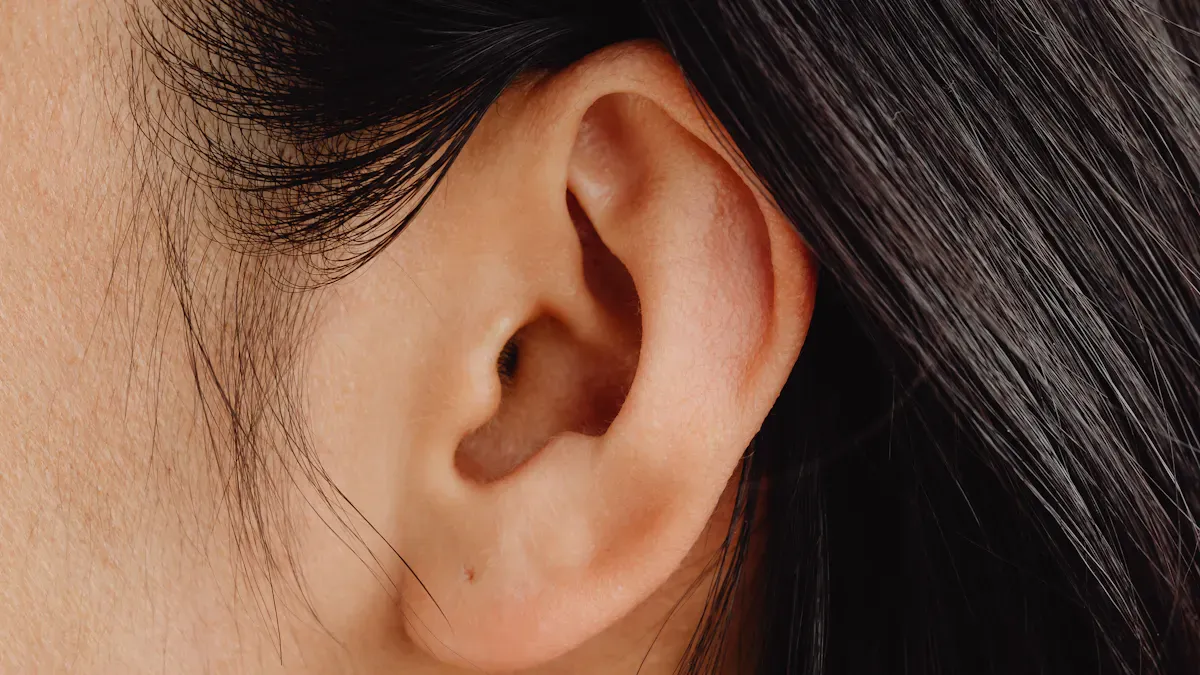
You want to understand where to place the Snug Piercing on your ear. This piercing passes through two layers of cartilage. It is located in the anti-helix, in the middle of the ear, opposite the ear canal. You will find this area between the helix and the anti-tragus. This positioning makes the piercing unique and requires special attention to the shape of your ear.
Note: The Snug Piercing is not suitable for all ears. You must check the thickness and structure of your cartilage before going ahead.
Here are the important points to remember:
The snug passes through two layers of cartilage.
It is located opposite the ear canal.
It is positioned between the helix and the anti-tragus.
An experienced piercer must analyze your anatomy to ensure it is feasible.
Differences from Other Cartilage Piercings
You will notice that the Snug Piercing stands out from other cartilage piercings such as the conch or helix. The snug passes through two layers of cartilage, making it more painful. The conch and snug are often confused, but they differ in their exact location and the structure of the pierced cartilage.
The snug is located in the middle of the ear, opposite the ear canal.
The conch is located further inside the ear.
The helix is on the outer edge of the cartilage.
The snug requires customization according to the shape of your ear.
You should always consult a professional to choose the piercing that suits your anatomy.
Ear Anatomy: A Decisive Criterion
Anatomical Variations and Feasibility
Every ear has a unique shape. You will notice differences in cartilage thickness, curvature, and the size of the anti-helix. These variations directly influence the feasibility of the Snug Piercing. You must understand that some cartilage is too thin or too thick to accommodate this type of piercing. A professional examines your ear to determine if the piercing is possible.
Tip: Take the time to observe your own ear in a mirror. Compare it with examples of Snug Piercings. You will quickly notice if your anatomy suits this piercing.
Here are the elements to check:
Cartilage thickness
Anti-helix curvature
Ear size
Ear canal position
You should always ask for the opinion of a qualified piercer. They use their experience to analyze your anatomy and guide you toward the right piercing.
Customizing the Piercing According to Ear Shape
The piercing plan is never identical from one person to another. You must adapt the placement of the Snug Piercing according to the shape of your ear. A professional chooses the angle, depth, and exact position of the jewelry. This customization reduces the risk of pain and complications.
Note: A piercing well-suited to your anatomy promotes fast and comfortable healing.
You can follow these steps for successful customization:
Consultation with an experienced piercer
Detailed analysis of your ear shape
Jewelry selection according to cartilage size and curvature
Definition of a custom piercing plan
You understand that every ear deserves a specific approach. Customization guarantees an aesthetic and safe result.
Evaluation and Preparation Before the Snug Piercing
Consultation with a Professional
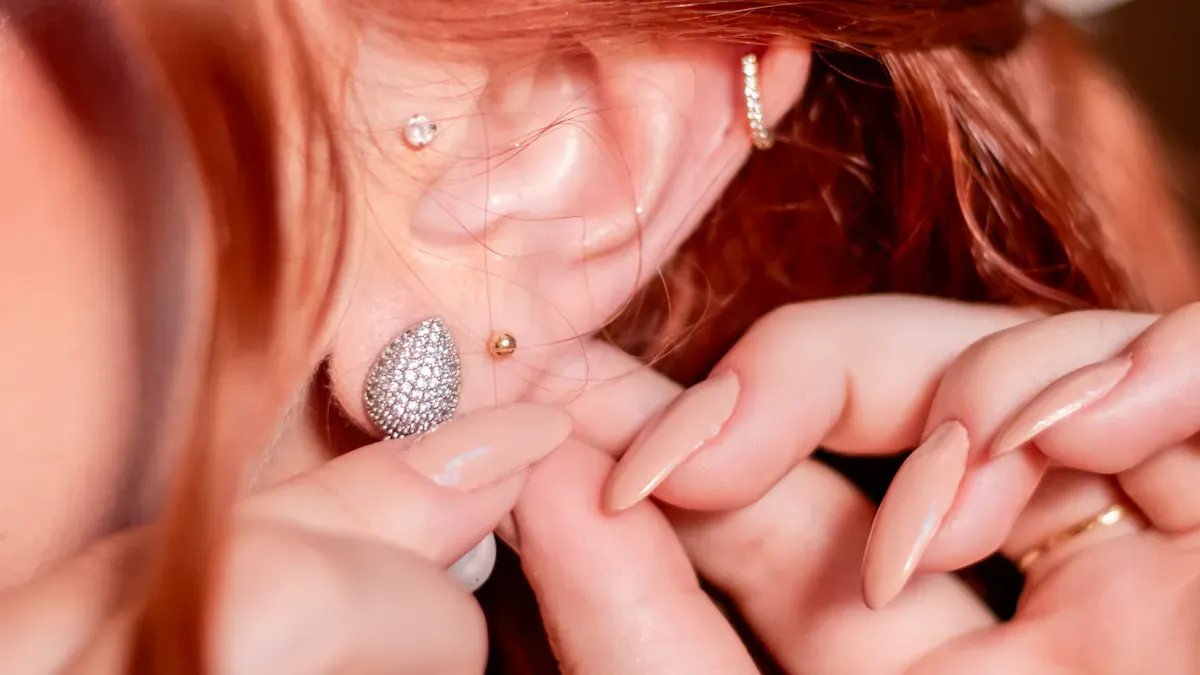
You should start with a consultation with a qualified piercer. This specialist examines your ear to check the thickness and shape of the cartilage. They observe the curvature of the anti-helix and the position of the ear canal. This analysis determines whether the Snug Piercing is possible for you. The professional will ask you questions about your health and habits. They will give you personalized advice on how to prepare your ear. You can also ask to see examples of piercings done on ears similar to yours. This step guarantees a result suited to your anatomy.
Disinfection and Ear Preparation
Before the piercing, you must prepare your ear carefully. Disinfection reduces the risk of infection and promotes healthy healing. Here are the recommendations for cleaning your ear:
Prepare a sterile saline solution with 1/4 teaspoon of non-iodized sea salt per 250 ml of boiled warm water.
Apply the solution with a sterile compress to soften crusts without pulling them off.
Avoid rotating the jewelry to prevent cartilage irritation.
Perform this care 2 to 3 times a day.
Opt for sterile saline sprays if you are concerned about dosing errors.
You must follow these steps to ensure perfect hygiene before the piercing. Thorough preparation protects your ear and makes placing the jewelry easier.
Pain, Healing, and Risks
Pain During the Snug Piercing
You are probably wondering how painful the snug piercing can be. People who have chosen this piercing report high levels of pain. You can see that the pain is often rated between 7 and 9 out of 10. This piercing is considered one of the most painful for the ear. You will feel brief but intense pain during the piercing.
The pain is often described as very intense.
It only lasts a few seconds.
You may feel a sensation of heat or pressure afterward.
Tip: Breathe deeply and relax before the piercing. This helps you manage the pain better.
Healing Time
Snug healing requires patience. You should plan for a period of 6 to 12 months for complete healing. During this time, you may sometimes notice redness or slight swelling. You must avoid touching the jewelry or sleeping on the pierced ear.
Clean the piercing every day with a saline solution.
Monitor for the appearance of crusts or persistent pain.
Consult a professional if you notice signs of infection.
Note: Good hygiene speeds up healing and reduces risks.
Specific Risks and Complications
You must know the risks associated with the snug. This piercing exposes your ear to several complications.
Infections often occur due to bacteria or inadequate care.
Jewelry rejection can cause migration or thinning of the skin.
You risk developing hypertrophic or keloid scars.
Allergic reactions sometimes occur with unsuitable materials.
Improperly sized jewelry causes irritation or prolonged pain.
If you notice excessive redness, swelling, or pus discharge, consult a professional immediately.
Care and Jewelry Selection
Daily Care and Precautions
You must take care of your snug piercing every day to prevent complications. Regular cleaning with a saline solution remains the best method. This simple step helps prevent infections and promotes proper healing. You should also avoid sleeping on the pierced ear, as pressure can slow healing.
Here are some essential tips for your daily care:
Clean the piercing with a sterile saline solution.
Never touch your jewelry with dirty hands.
Change your sheets regularly to limit bacteria.
Apply a natural moisturizer if your skin becomes dry.
Avoid harsh products such as shampoos, perfumes, or hairspray. Rinse your ear thoroughly after showering.
Do not use antiseptic, as it can irritate the cartilage.
Tip: Always follow your piercer's recommendations to optimize healing.
Jewelry Selection and Piercer Hygiene
The choice of jewelry directly influences the success of your snug piercing. Opt for a curved barbell (banana) or a straight barbell for the healing phase. Small hoops sometimes work, depending on the shape of your ear. Avoid large hoops, as they increase the risk of inflammation.
To ensure your safety, choose implant-grade titanium jewelry (ASTM F-136). Minimalist designs reduce the weight on the cartilage. Your piercer must use sterile tools and select biocompatible materials. Impeccable hygiene limits the risk of infection.
Remember: Regular care and suitable jewelry ensure a healthy and aesthetic snug piercing.
You must remember the importance of anatomy for a successful snug piercing:
A prominent anti-helix makes piercing easier.
Cartilage that is too thin increases risks.
A professional consultation guarantees your safety.
Before going ahead, check the hygiene, jewelry quality, and aftercare. Always prioritize safety.
FAQ
Does a snug piercing leave a visible scar?
You may see a small mark if you remove the jewelry. The scar remains discreet if you follow the recommended care.
Can I exercise after a snug piercing?
You should avoid contact sports during healing. Protect your ear to limit impacts and infections.
What is the minimum age for a snug piercing?
Most piercers require you to be at least 16 years old. Some require parental permission if you are a minor.


